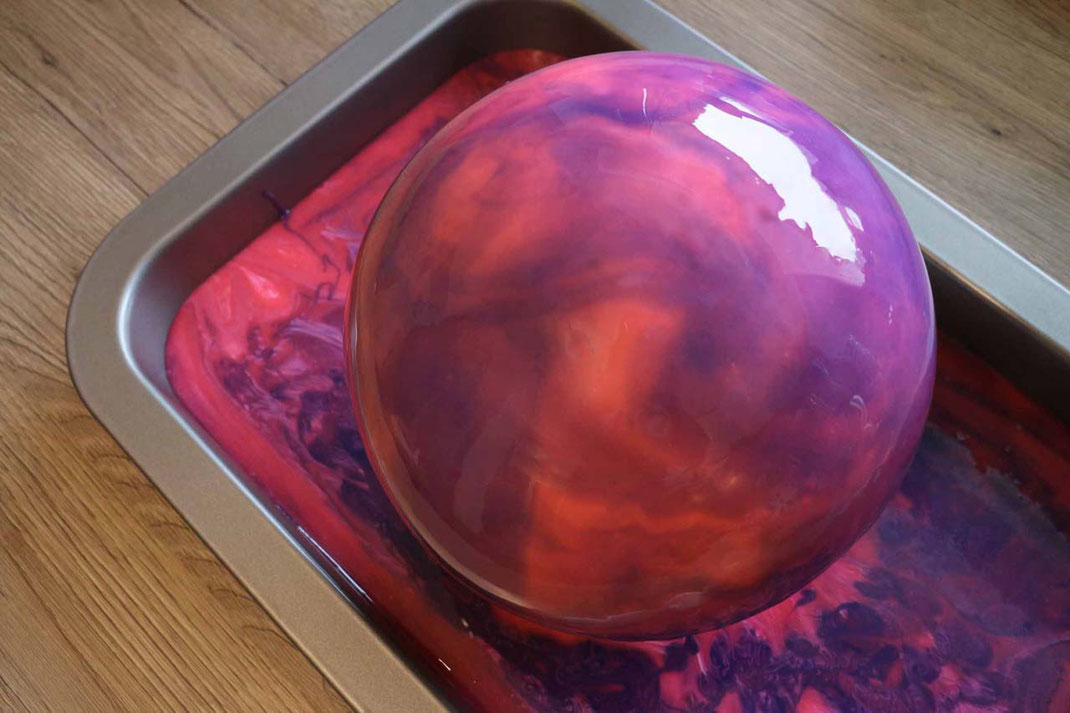
I'm so happy to be able to share this recipe today with you. After many trials of which some of them really annoyed me because it didn't turn out at all like I wanted it, I have figured out the best way to create a mirror glaze cake and I will share it with you. There are ready to use mirror glaze mixtures in the supermarkets available now and from the description it looks like it's totally simple and you don't have to pay attention to anything. Believe me, this is a wrong impression. There are a few very important things to pay attention to if you really want a smooth and shiny mirror glaze cake, but don't be afraid I will take you step by step through the process.
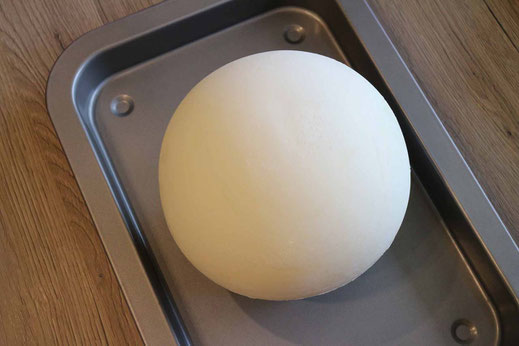
First of all you need to bake the cake. As the mirror glaze shows all flaws of the top surface of the cake it's really important the surface is super smooth and without any bumps. The best way for this to create a mousse cake in a silicon mold. In this case I used a half sphere mold*, but you can also use a different shape, just make sure the geometry does not have any dips where the glaze can not flow off. My favorite brand for silicon molds is Silikomart*.
For the mousse I tried several different recipes, which all had different issues. Some didn't taste to great or did not stiffen completely as intended. Others are not good to freeze (which you have to do later) and unfreeze, because they lost a lot of fluid when they unfreeze.
In my opinion this cheesecake is the best base you can have for a mirror glaze as it's not loosing much fluid and tastes after freezing still great. You can also add different flavors if you like.
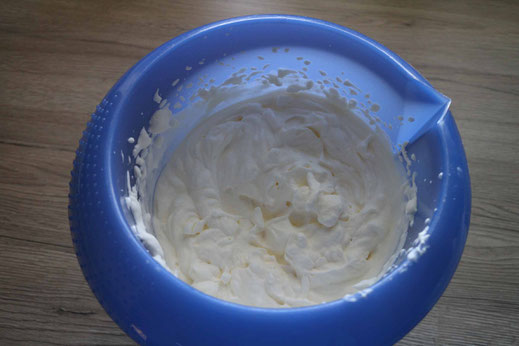
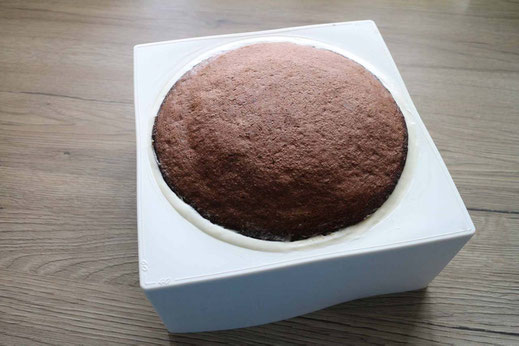
If you like cheesecake very much, you can just use this one to fill the complete cake, or you can do as I did and bake a sponge cake in the same silicon mold you intent to use for the mirror glaze just with half height.
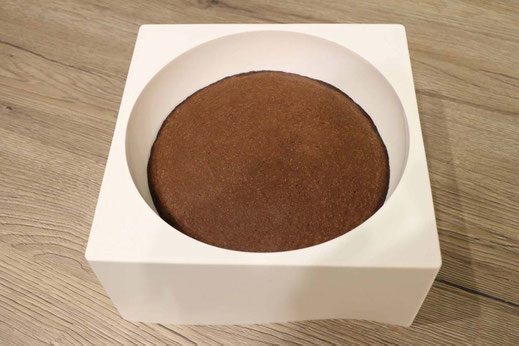
Prepare the cheesecake and fill it to a height of about 3/4 into the silicon mold and press the cooled sponge cake into it. You just need to make sure the sponge cake does not show on the sides of the mold so you have an even cheesecake layer all around the surface. Now freeze the cake over night.
Now it's time to prepare the actual mirror glaze.
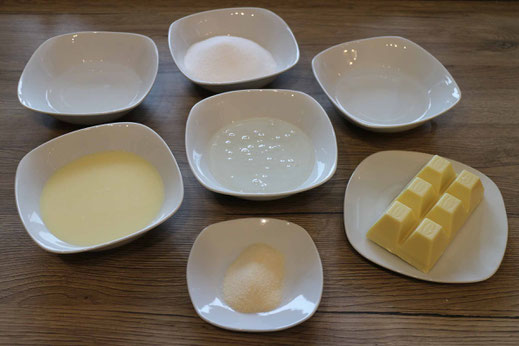
You need the following ingredients:
- 9g gelatin*
- 60 + 75g water
- 150g glucose syrup*
- 150g sugar
- 150g sweetened condensed milk*
- 150g white chocolate*
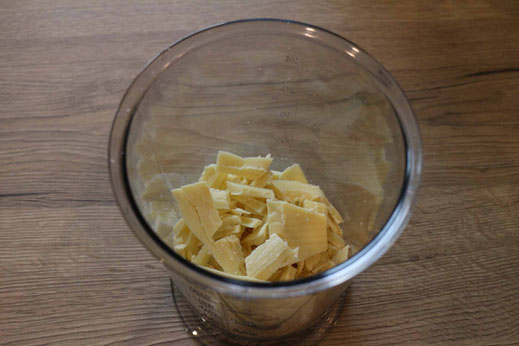
Chop the white chocolate and fill it into a high bowl.
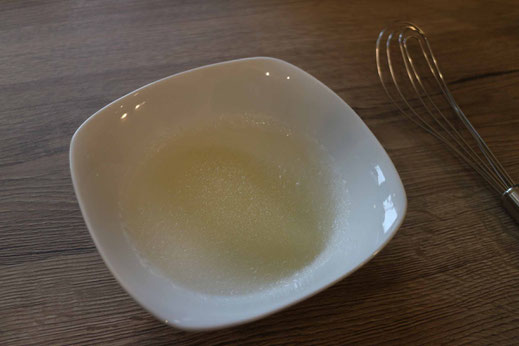
Dissolve the gelatin in 60g of water.
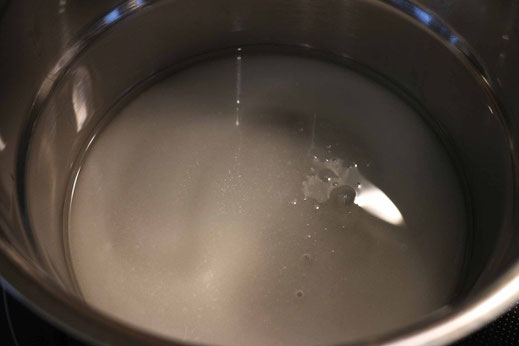
Mix the glucose syrup, sugar and 75g of water in a pot and bring it to boil.
Now you pour the mirror glaze through a sifter to get rid of the air bubbles and divide it in several bowls to dye it with different colors. A drip of white food color* in addition to the other food colors* gives it a more solid and not so see-through look. Now it's important you pour the different colors again together into one bowl to have the same temperature and pour it later together over the cake. It will not work if you pour it separately, because the first color would cool down already to much on the cake. After you added all colors into the bowl don't marble it to much, because it will blend quickly together. Now it's time to unmold your cake and put it onto a glass or bowl on a pan or any other dish to collect the excess mirror glaze. In the meanwhile the mirror glaze can cool down to about 40-42°C. It's important you use a thermometer* to check this temperature precisely. If the mirror glaze is still to hot it will flow right off the cake, is it to cold it is sticking to fast and is not giving you a smooth surface. If the first trial is not working out in your favor (I speak out of experience) you can just peal the mirror glaze off the cake, freeze it again for a moment and try it again.

When the glaze is cooled down to 40-42°C it's the right time to just pour it over the cake till you have to marbled effect you desire. Make sure to stop pouring early enough when the whole cake is covered completely, because if you go on with pouring the glaze will not get a smooth surface. If you paid attention to all of this things you should now have a perfectly reflecting, marbled mirror glaze cake :-)

Affiliate links/advertising links/advertisements:
The links marked with an asterisk (*) are so-called affiliate links. If you click on such an affiliate link and purchase via this link, I will receive a commission from the respective online
shop. For you, the price does not change and I only recommend items that I have used myself and found to be good. As an Amazon Associate I earn from qualifying purchases.


Write a comment
Lindsay (Wednesday, 17 April 2019 18:37)
Beautiful cake! Does my mold have to be silicone? I was hoping to use my Wilton ball pan. Would that work?
Bettina of thebakingjourney (Wednesday, 17 April 2019 19:01)
Hi Lindsay,
thank you so much. I suppose you can try the ball pan as well an try to warm the outside with a little warm water if it will not drop out of the pan. If you have any further questions just let me know.
Many Regards Bettina
Letty (Wednesday, 22 April 2020 19:05)
Hi, i want to ask, how to move the cake safely without ruining/touching the glaze?
Bettina from thebakingjourney (Friday, 24 April 2020 12:44)
Hi Letty,
that’s tricky but I have two thin offset spatulas which I bend a little so it’s just sitting on two points. When I placed it on the Cakeboard I try to pull out the spatulas carefully and if I need I take skewer to move it from the spatula.
Hope that helps a little.
Bettina
Galina (Wednesday, 18 January 2023 14:20)
How do you join the both spheres? Is the cake served frozen? Or after applying the glase it could stay in the fridge?
Bettina from the bakingjourney (Wednesday, 08 February 2023)
Hi Galina,
this is just a half sphere and you will not manage to assemble it to a full one without damaging the glaze. It’s ok to stay in the fridge after you apply the glaze.
Regards Bettina