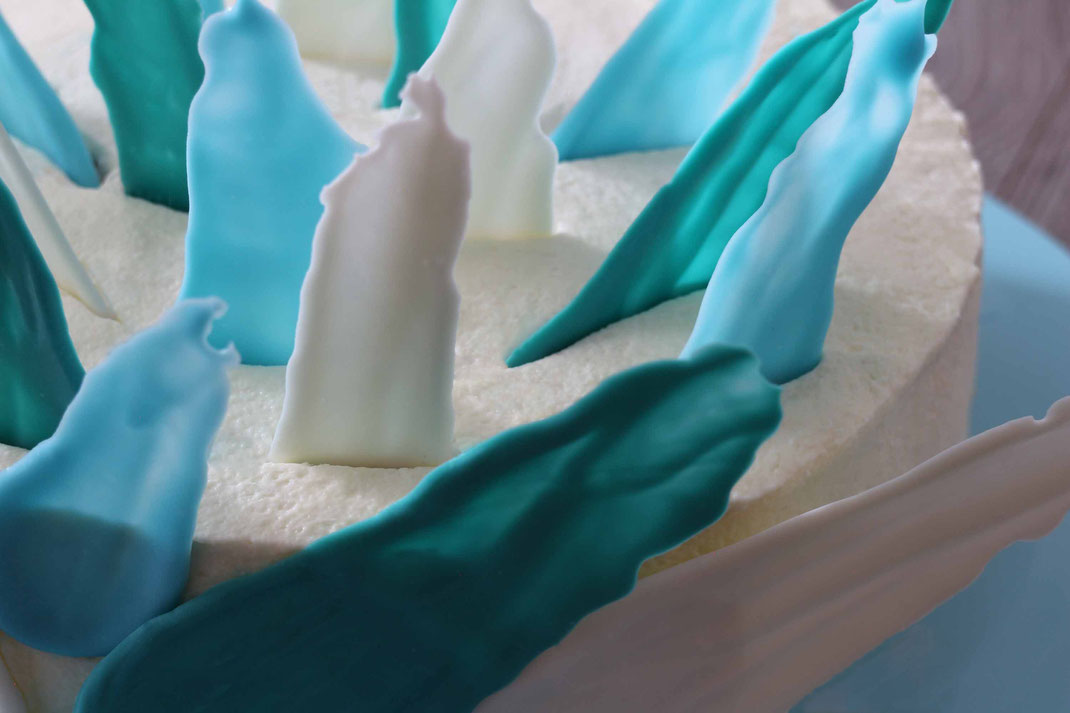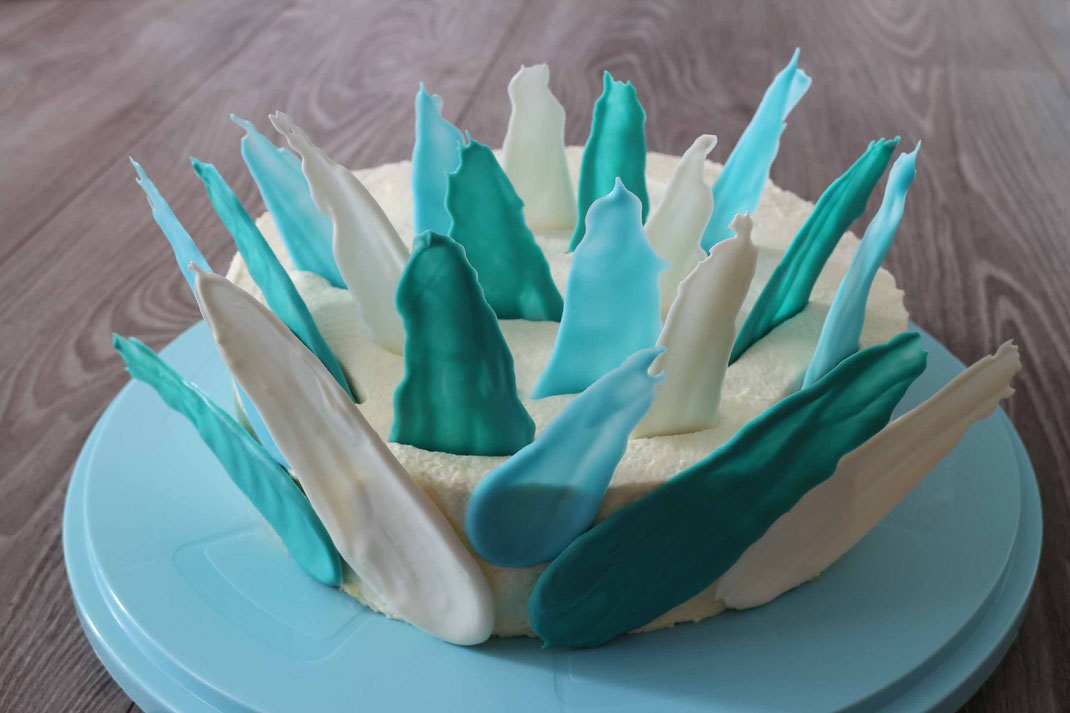
I wanted to try this fancy cake technic for a long time but never had the chance. Now Christmas time gave me the opportunity to bake a brushstroke cake. It would have been even nicer to have more than one layer but unfortunately I had to transport the cake to my family for Christmas celebrations so I needed to limit the height.
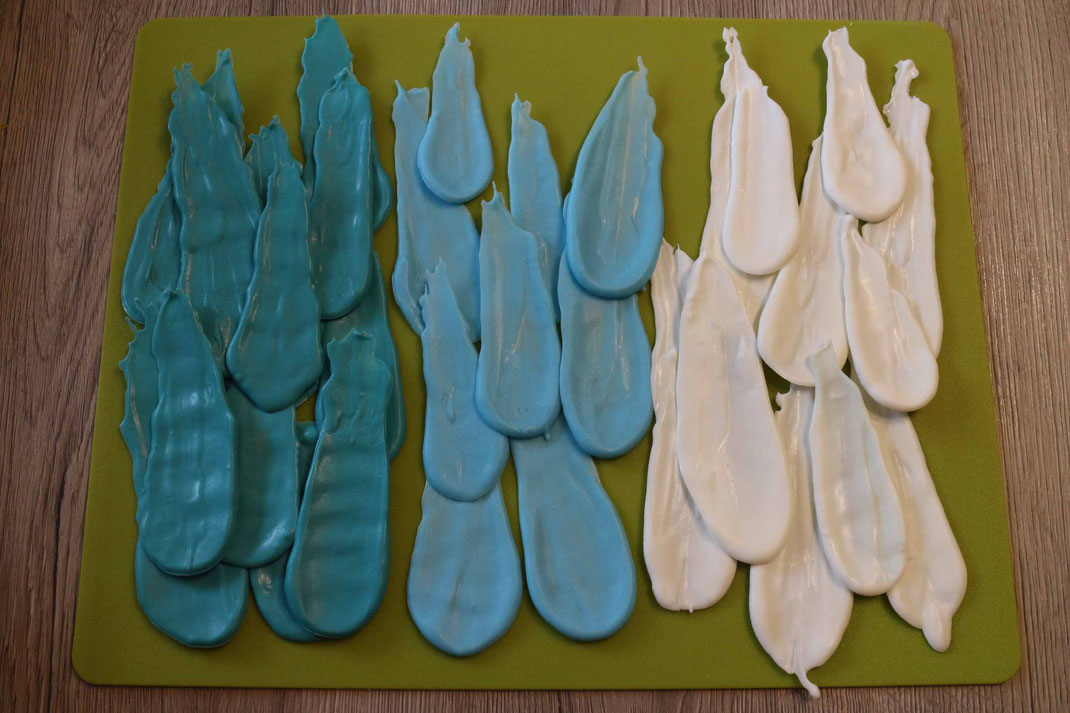
I was in a rush (you know Christmas time ...) so I didn't take pictures while creating the basis cake and brushstrokes, but I can ensure you after "doing the strokes" it looked a lot more complicated than it was. I baked a simple cake with two layers (you can use this sponge cake recipe) and filled/iced the cake with whipped cream. Already a night before assembling the cake I prepared the brushstrokes. For this I melted some Candy Melts* (I chose wintery colors like white and light blue) and put blobs onto a piece of sandwich paper (about a teaspoon). Instead of using a brush I just took a teaspoon to smudge the blobs into the characteristic shape for the "brushstrokes" and let them cool down in the fridge for a few hours before separating them from the paper.

For assembling the cake it's really important everything is cooled very well. Is started with the side wall of the cake and pressed some of the brushstrokes to it. After about half of the cake was covered I pressed additionally brushstrokes into the top of the cake. If you need to transport the cake as well please be aware of the height.

Affiliate links/advertising links/advertisements:
The links marked with an asterisk (*) are so-called affiliate links. If you click on such an affiliate link and purchase via this link, I will receive a commission from the respective online
shop. For you, the price does not change and I only recommend items that I have used myself and found to be good. As an Amazon Associate I earn from qualifying purchases.
Write a comment