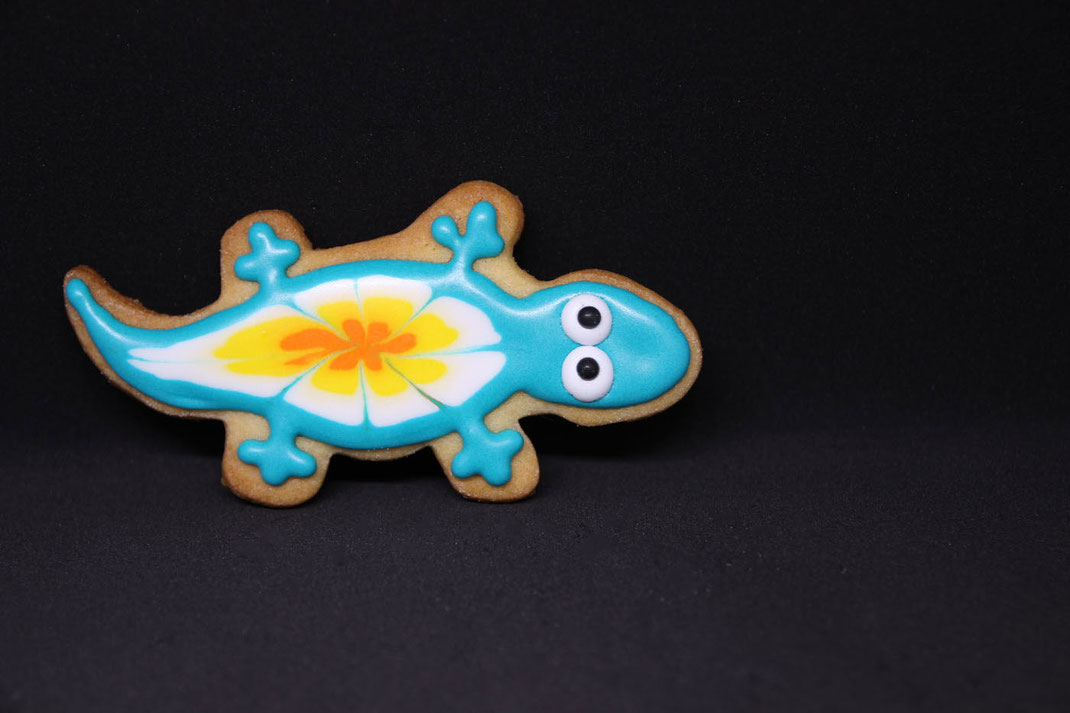
Coooooookies!!! Don't worry I didn't turn into the cookie monster but admit it, you like cookies as well. Doesn't matter if it's Christmas time or not. And there is so much you can do with cookies. You can even store them for some time (if you have willpower and don't eat them all at once).
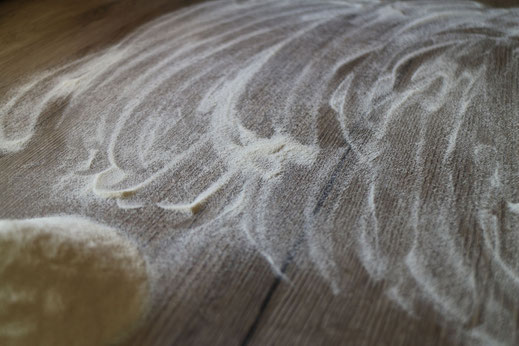
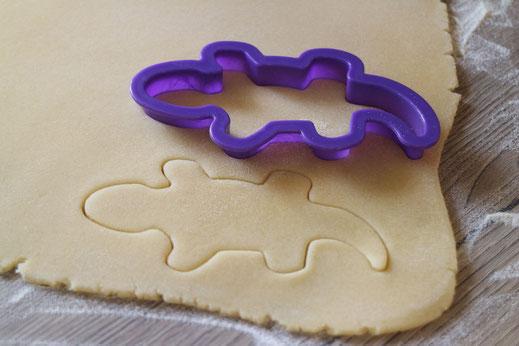
Today we are going to create this funny lazy lizard cookies. This is one of the cutest cookie cutters I every bought. First step for every cookie is the cookie dough. You can use this vanilla cookie dough recipe or another recipe you normaly use. After preparing the dough you can start with cutting out the cookies. Put some flour onto your countertop and your rolling pin. This way the dough will not stick too much to your baking tools. Roll out the dough into an even about 3-5mm thick layer and start to cut out your cookies, in this case the sweet little lizards*.
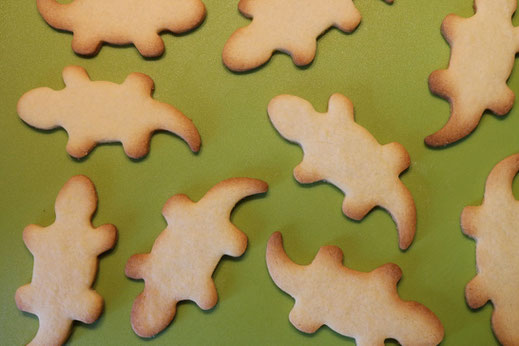
Afterwards put them on a baking sheet and bake them till they have a nice color (depending on which recipe you are using) and let them cool out completely, to be ready for the decoration.
Now it's time to prepare your royal icing. There are many slightly different variations on royal icing, but the recipe itself is quite easy. I'm using a very basic version with 1,5 tablespoons meringue powder* on 250g powder sugar, a little vanilla extract and about 50-100ml water. How much water you need really has to be identified when the icing is mixed and colored completely. You have to test how smooth it flows and adjust the consistency. It has to be stiff enough to not run over the edges, but still has to mold together smoothly. :-P easy task I know, but if you have detailed questions just contact me. I just use one kind of icing for outlining and flooding the cookies which works very well, if you have it in the right consistency. Now it's time to dye your icing with food color*.
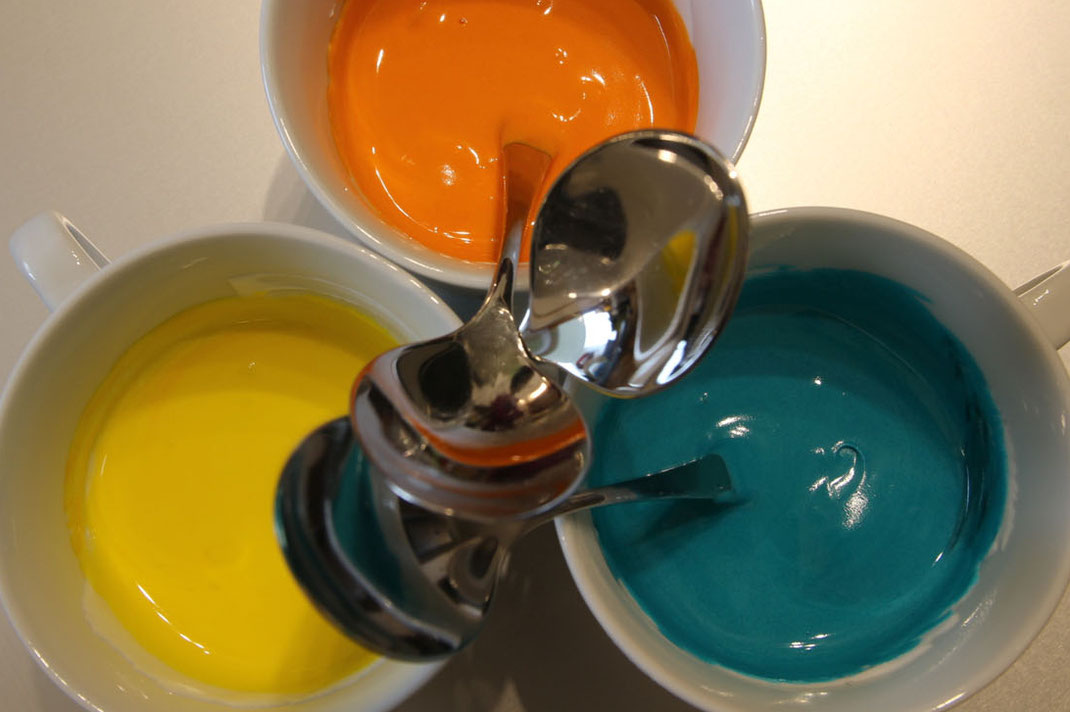
After your icing is dyed and has the right consistency you can fill it into your piping bags* or I prefer this little squeezer bottles*. I normally use a tip 2* but there might be different ones which are also suitable. Now the fun part begins :-)
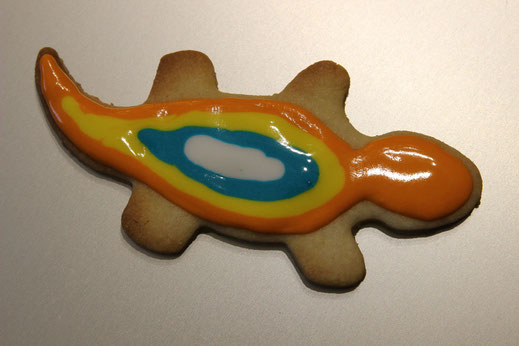
1. Outline the head and body of the lizard in one color.
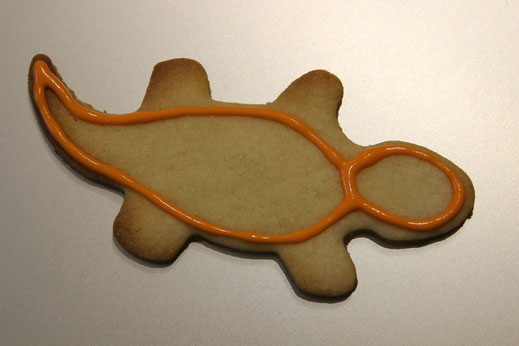
2. Flood the head and add a second line of icing to the body.
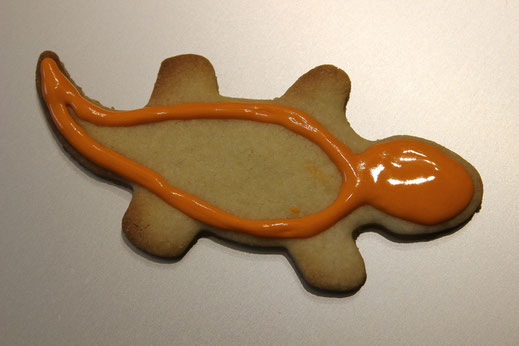
3. Add two lines of icing in each other color you have.
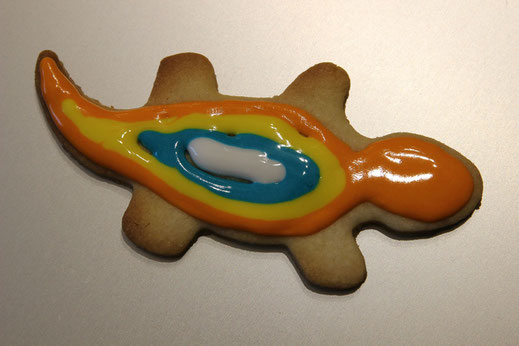
4. Don't worry if you have some not filled areas. If your icing is smooth enough you can easily fill the areas by using a skewer or toothpick. If this doesn't work it's a sign for to stiff icing.
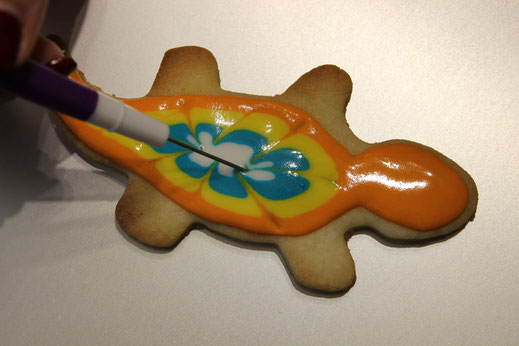
5. Create the pattern of the lizard by drawings lines with a skewer from the outside to the inside of body. Again, if the icing doesn't smooth itself out, it's too stiff.
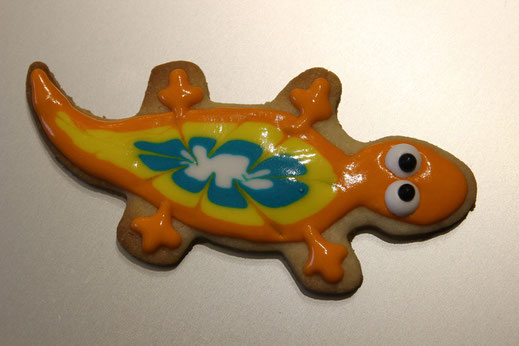
6. Pipe the little lizard feat. I choose to do this step in the end to not have the outlined body icing already too stiff to create the pattern. If you are quicker than me you can also change the order of the steps how it fits best for you.

7. Add the lizard eyes. You can either purchase them ore create them yourself beforehand with royal icing like mine. It's better to have the white icing dried completely before you set them on the lizard to not have the other color bleed into the eyes.
--> that's your finished lizard and with alternating the colors you will get a lot of different ones even with the same design.
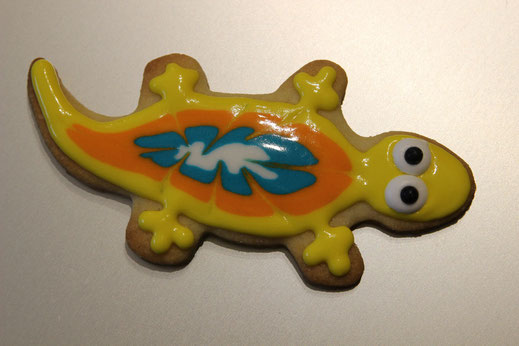
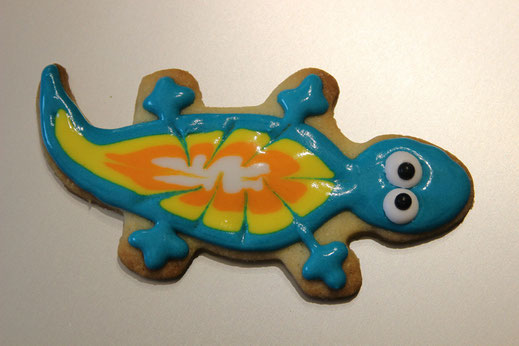
For sure you have more ideas for different patterns and colors. You can even make the different parts of the lizard in different colors, just be creative and try what you like. Here are some impressions of my lizards.
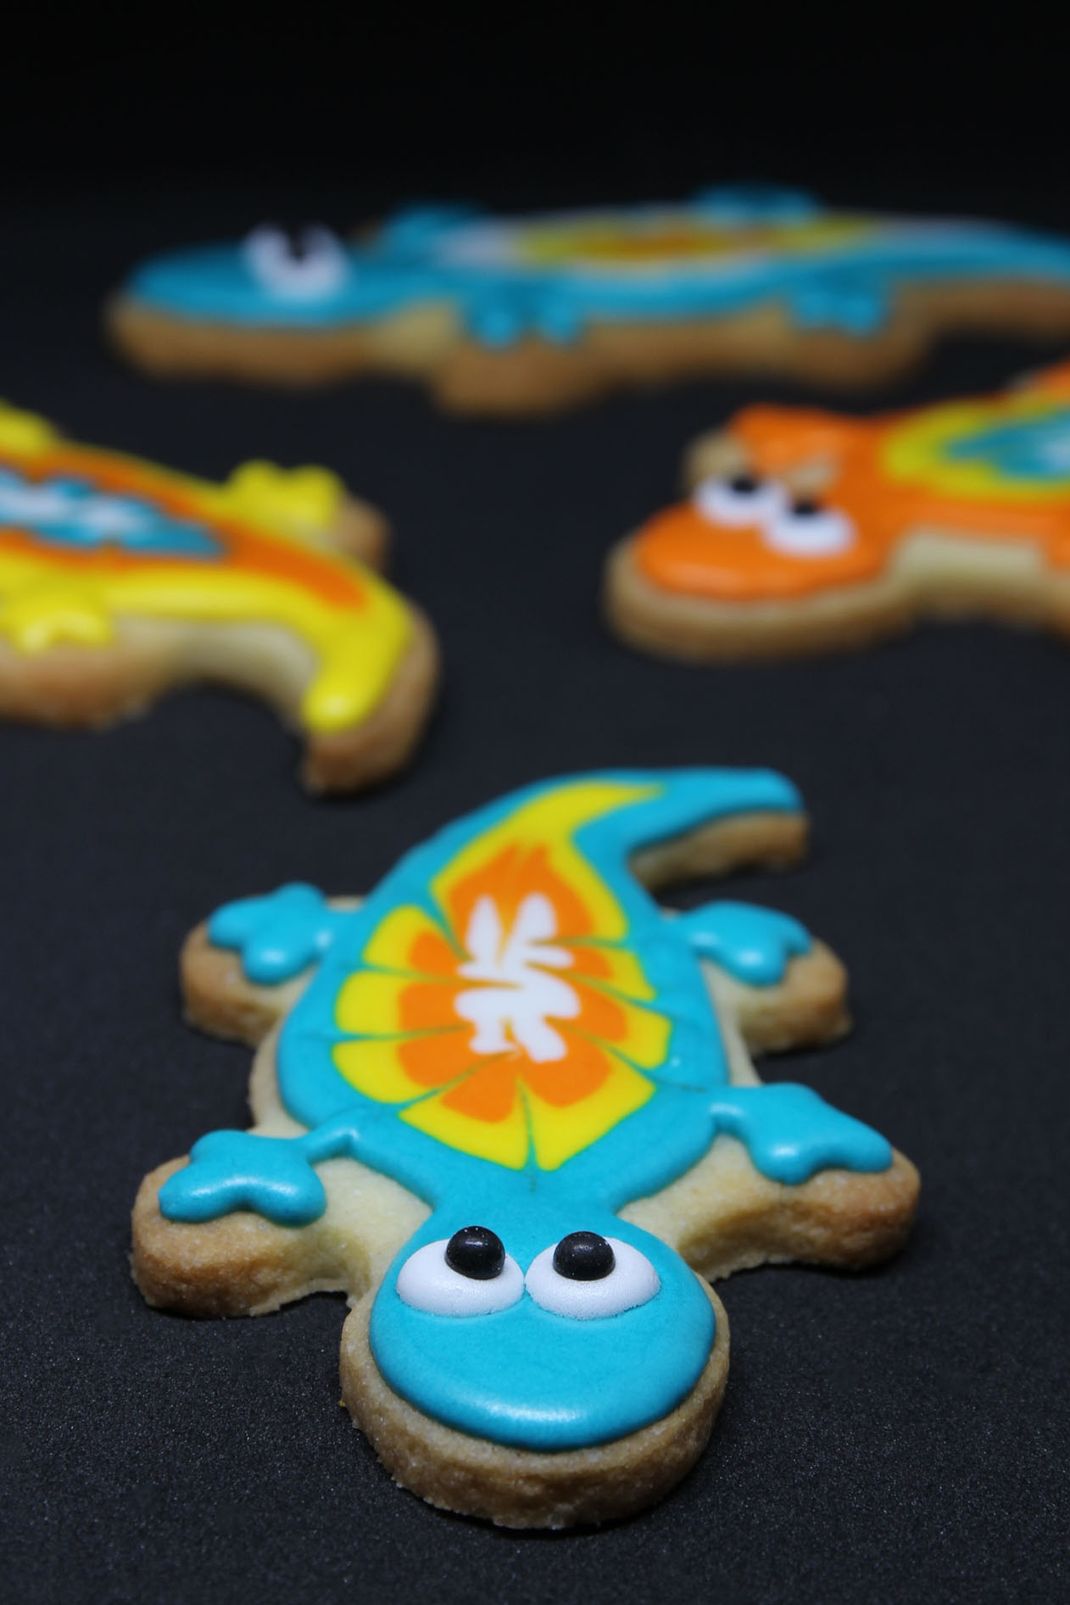
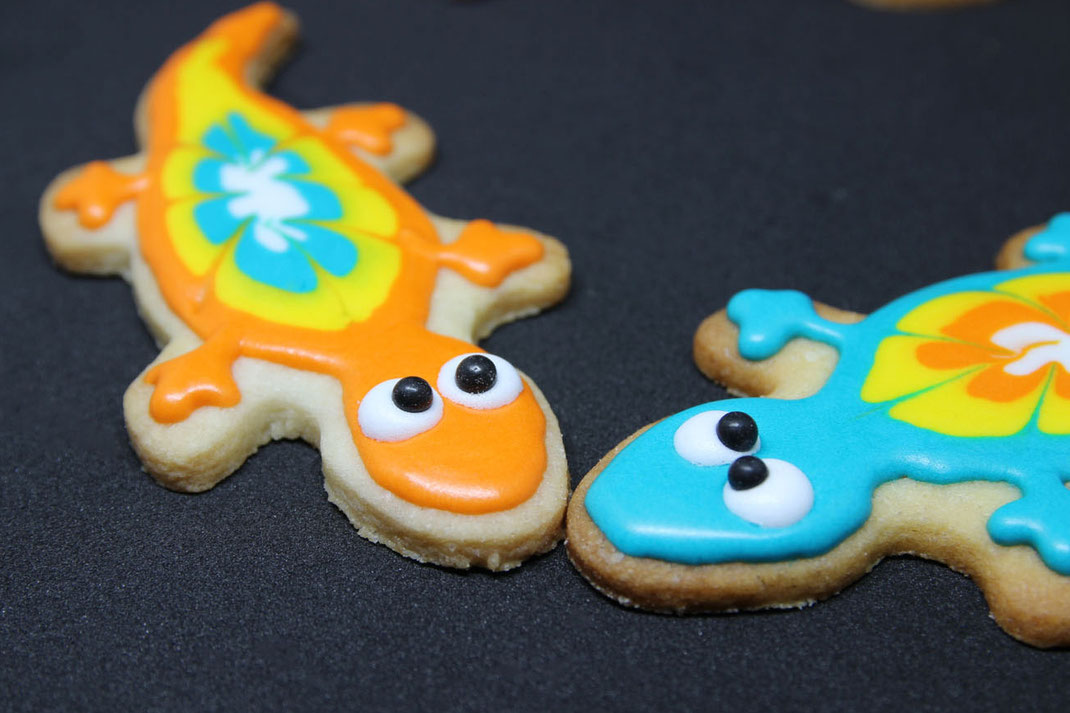
Looks like the turquoise one is the boss?!? But I have the feeling the one with the funny eyes got the girl? What do you think?
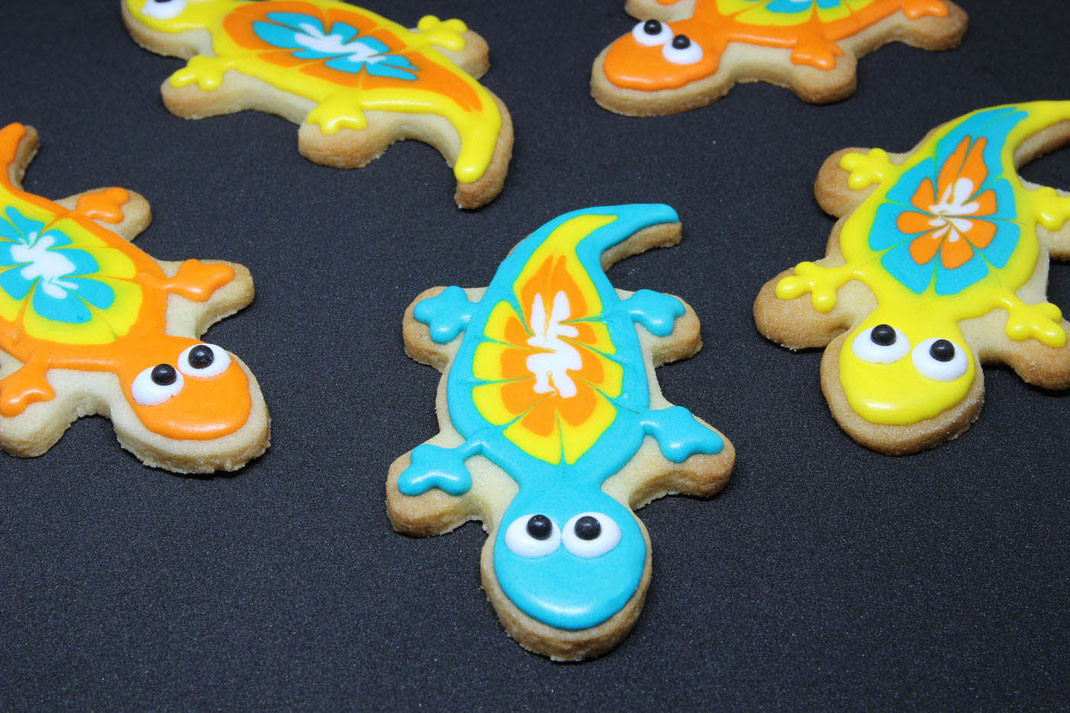
And finaly the whole gang together :-) If you love them as much as I do please leave a comment.
Affiliate links/advertising links/advertisements:
The links marked with an asterisk (*) are so-called affiliate links. If you click on such an affiliate link and purchase via this link, I will receive a commission from the respective online
shop. For you, the price does not change and I only recommend items that I have used myself and found to be good. As an Amazon Associate I earn from qualifying purchases.
Write a comment
Tablespoon (Friday, 06 January 2017 23:06)
They are so cute, love it.